10 Steps To Stunning Wall Art
Salam my friends! I am very excited to share my latest project with you today. As I have mentioned in the new home synchronize announcement post, I have been experimenting with large Islamic calligraphy stencils for my Etsy shop. For those of you not familiar with Islamic calligraphy stencils, I will tell you that they are an easy and inexpensive way to replicate the art of calligraphy anywhere in your home. For this project, I chose to paint an Islamic quote directly on the wall (this gives it authenticity as if I had my own personal calligrapher). 

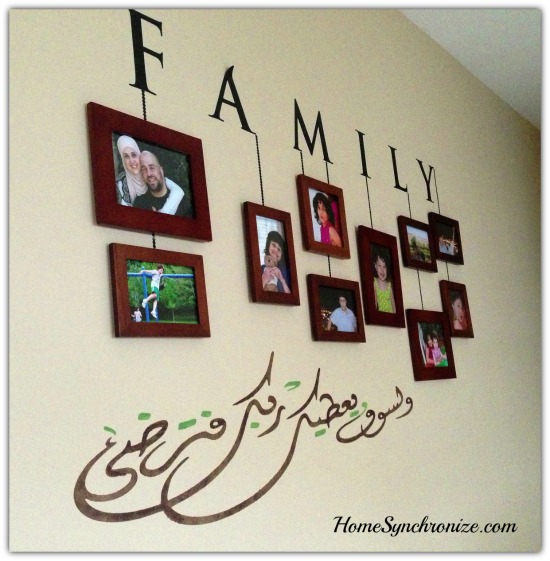
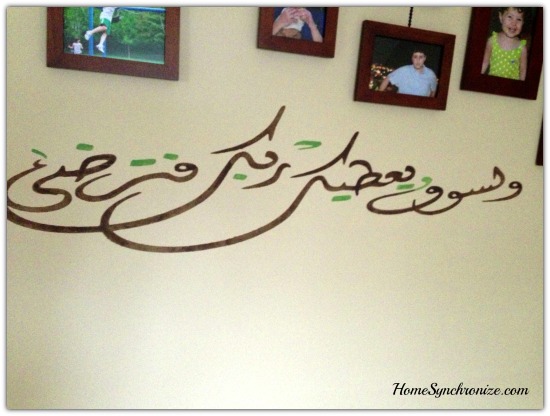
I chose the quote: { وَلَسَوْفَ يُعْطِيك رَبّك فَتَرْضَى } “Walasawfa yateeka rabbuka fatarda” (Sura Duha, Aya 5)
Which means-And soon will your Lord give you so that you shall be well pleased. {Shakir translation}
To paint this on the wall underneath the photo gallery of my family will serve as a reminder that Allah has blessed us with each other and for that we are pleased.
You too can create a stunning art on your wall with these 10 easy steps (I sound like a commercial).
But first, you need the following supplies:
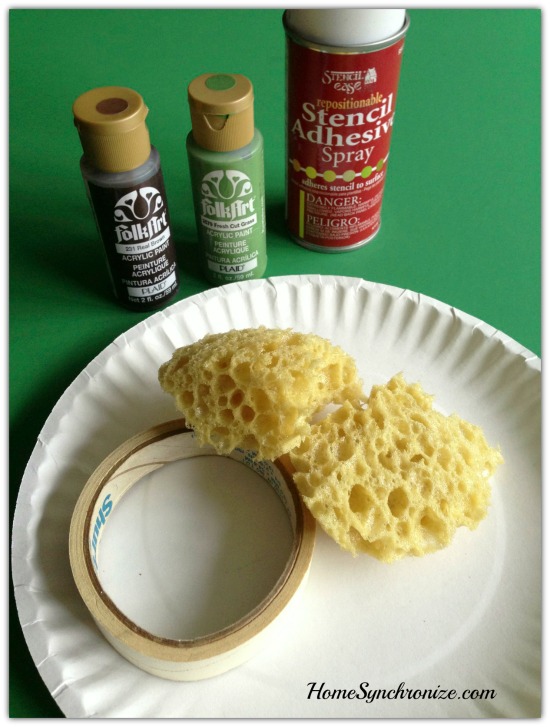
Large Islamic calligraphy reusable stencil
Folk art colors (I used real brown and fresh cut grass)
Stencil adhesive spray
Masking tape
Sea sponge
Small paint brush (optional)
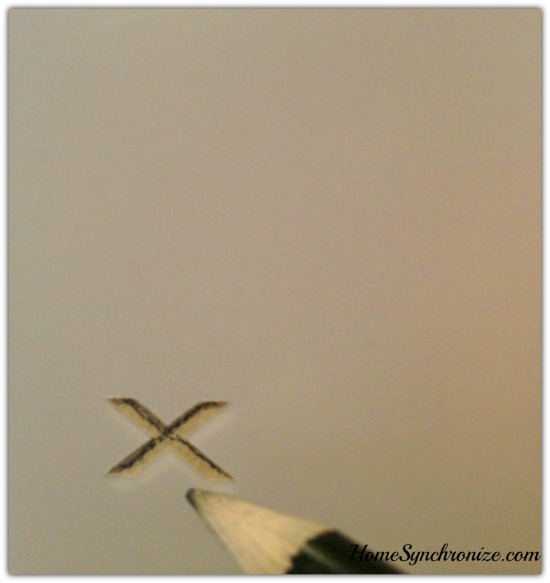
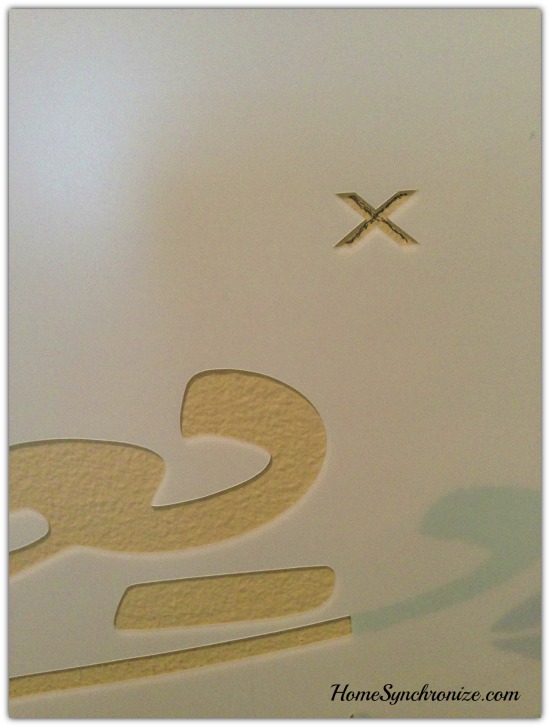
NOTE: Large reusable stencils come with registration marks (in the shape of an X) to help you align the quote.

Step 1: Clean the wall of dust and/or marks. I use magic eraser sponges which work like..well..magic!
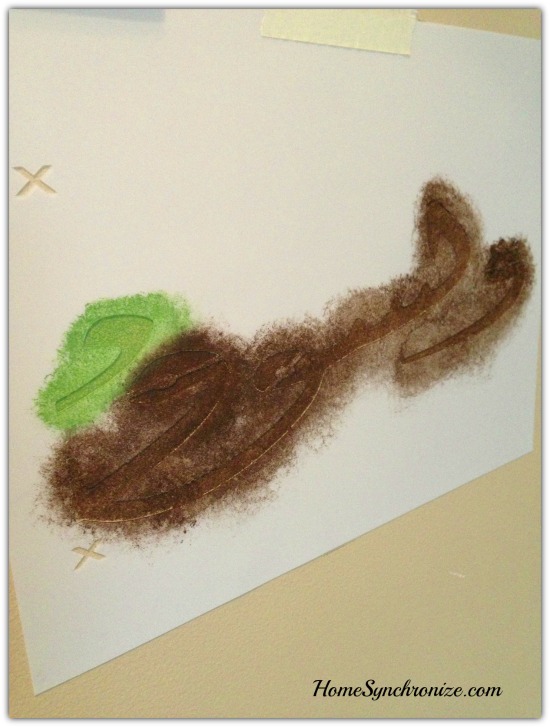
Step 2: Decide on your placement. (experiment using the masking tape).

Step 3: Apply a thin layer of stencil adhesive to the back of the stencil sheet (too much spray adhesive can leave a sticky residue).Make sure to protect the area around the stencil while you are spraying. Let dry for a minute before placement on the wall.
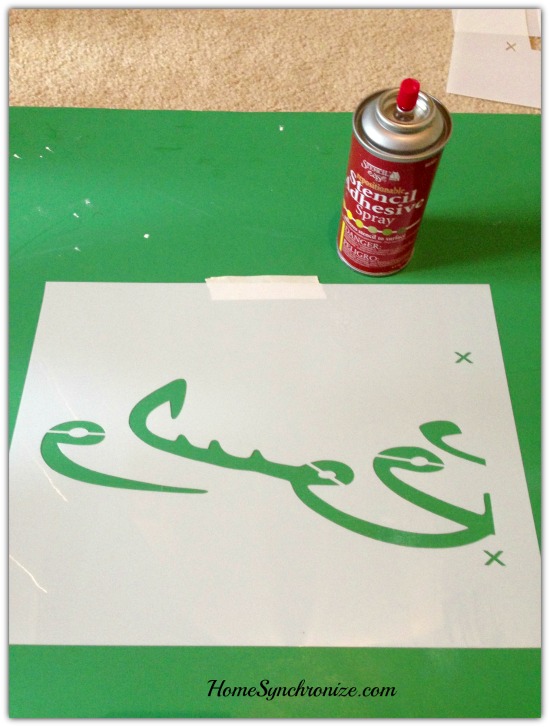
Step 4: Position the first stencil sheet on the wall then smooth it out with your hand to ensure adhesion of all intricate details. Mark the position of the X with a pencil.

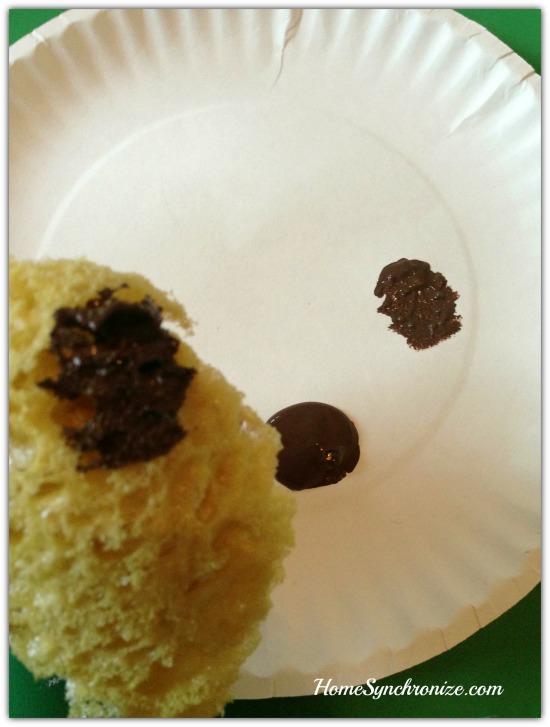
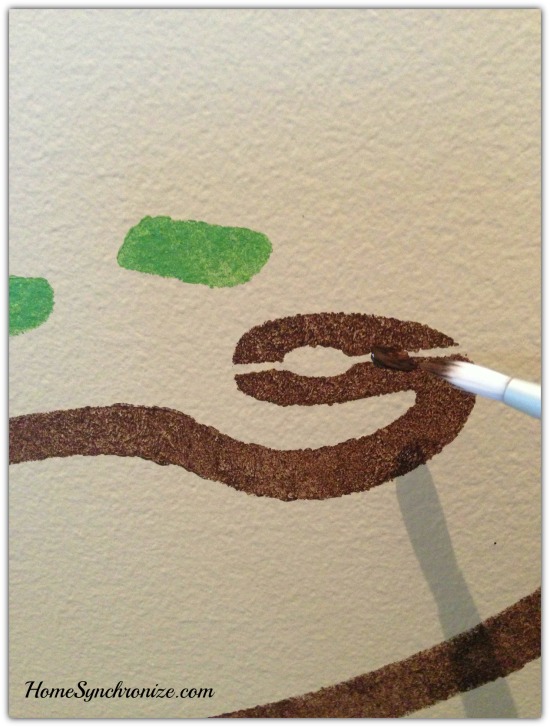
Step 5: Pour a small amount of paint onto a plate, then load your sea sponge with paint. Blot off excess paint so you end up with a semi dry sponge. This will prevent paint seeping under the stencil.
Step 6: Dab the stencil by applying light to medium pressure (do NOT paint the registration marks). If you like the color to be darker, wait a couple of minutes for the first layer to dry before applying the second layer of paint. Then slowly remove the stencil.
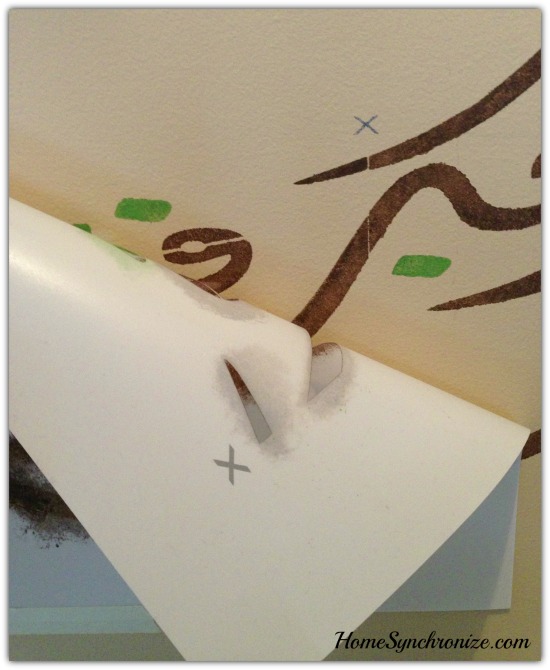
Step 7: Apply spray adhesive to the back of the second stencil sheet. Use the registration marks (X) to help you line up the quote-also make sure the quote from the previous stencil sheet lines up the with new sheet.
Step 8: Repeat steps 3-7 with the remaining stencil sheets.
Step 9: Finally, you could fill in the bridges with paint using a small paint brush or leave them as is. I decided to paint them for a more “realistic” calligraphy look .
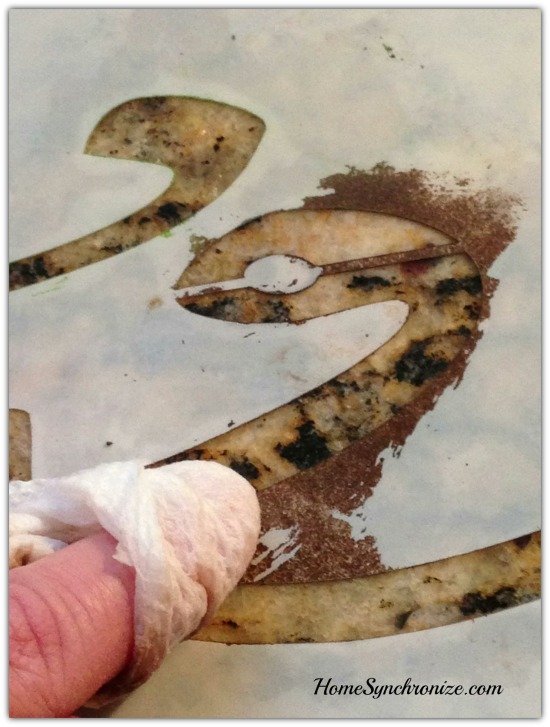
Step 10: Clean the stencil before storing it away. Due to the intricate details of the stencil, I used a damp paper towel to gently wipe away the paint.
That’s it! One stunning wall art in 10 easy steps. Have fun and use your creativity to color the stencil any way you want.
Important note: Before stenciling on the actual wall, I recommend that you experiment on a piece of cardboard to ensure the correct color combinations, and gain confidence in your stenciling technique. Good luck!