Fun with Stencils
Ever since I first laid my eyes on cutting edge stencils I was itching to give stencils a try in my home. My ultimate goal is to create an accent wall in my bedroom. In order to gain confidence in my ability to accomplish that, I practiced stenciling techniques on simpler projects.
I began with a very simple project, a stencil design wall art. Click on the link to see how that was done.
Then, I thought that stenciling the pantry would be a great idea. Its not that big, so how hard could it be? Read all about my experience in pantry transformation. Never the less, I am extremely happy with the final result.
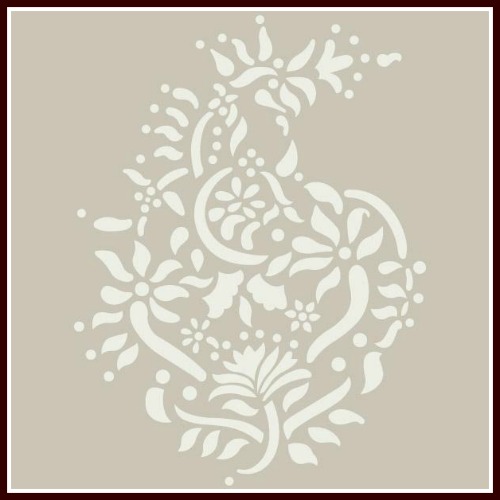
What I did not mention in that post is that I tried to create my own stencil for the pantry. I have never made a stencil from scratch before, so I researched it and assumed it was going to be easy. I bought the supplies and found a paper design that I thought would look great in the pantry.
After spending hours cutting my new design, I was so excited to use it. As I tried it on a piece of cardboard, I realized I have made a huge mistake! Someone who knows stencils can figure this out easily. Can you see where I went wrong?
Yep, I forgot to enclose my design within a border!!!  Why is that important? Without a border around my design, I was unable to create a pattern or even apply paint without it going where I did not want it to go. Extremely frustrated at this point. So, if you are going to create your own stencil, be sure to surround your design with a 2”-4” border. It should look like this.
Even after I created a NEW stencil (with a border) for my design, I was not happy with the outcome. Unfortunately, It was not the look that I wanted for the pantry! I decided that it would be better to use a pre-cut design, and that is how I ended up with the Iron Lattice stencil design for the pantry.
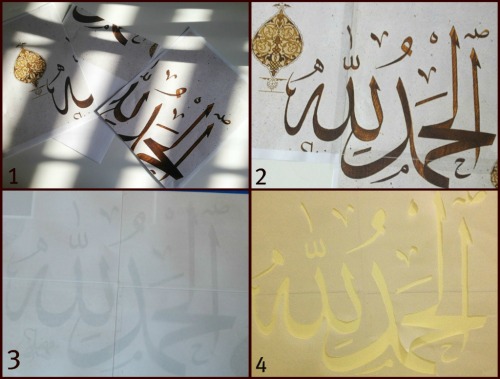
Knowledge is never wasted. I decided to use my newly acquired stencil making skill to create a stencil design for the mudroom. I chose to stencil “Thank God” in Arabic Calligraphy as a form of art as well as a reminder to always be thankful.
I enlarged it 400%, printed, then taped it back together like a puzzle. I taped 4 stencil paper together to make a large sheet, placed it over the calligraphy and used my stencil cutter to create the stencil.
My final project took place in the office where I decided to give an interesting background to an elegant framed art. I wanted the background to enhance the frame and not compete with it for attention. So, rather than stencil the whole wall, I stenciled a frame . I chose black for my color to blend in with the color of the frame. I am happy with how the stencil adds interest and texture to the office. 
Am I done with stenciling? No Way! The possibilities are endless. I would like to try them on fabric, on canvas, on ceramics, and of course on an accent wall. So, stay close and watch my progress. 
Which project do you like the most? Would you try any of them in your home?
Linked to…
Addicted 2 Decorating: http://www.addicted2decorating.com/addicts-not-so-anonymous-link-party-4.html


