How To Stencil A Lampshade That Will Not Be Ignored
I finally did it! I stenciled a lampshade. I wanted for a loooonng time to transform a lampshade either with stencils or fabric (I have seen several of these on Pinterest). But after researching the many sides of Islamic lamps & lanterns, I decided to include Arabic calligraphy in my design. Which meant that I had to stencil a lampshade for this project.
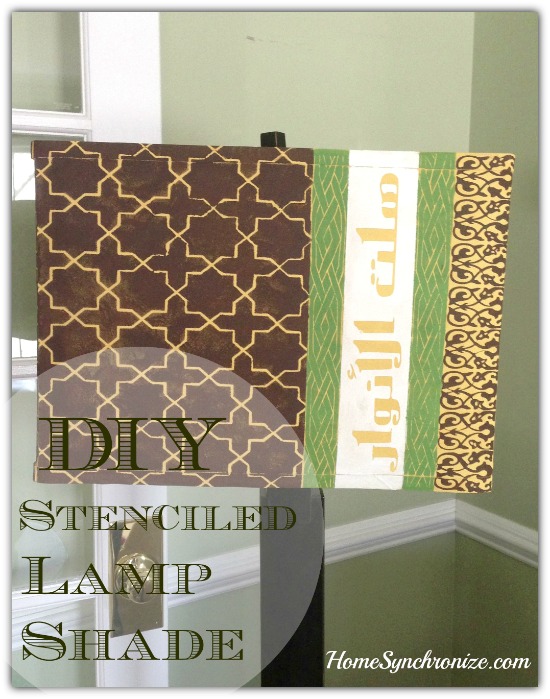 I created my own stencils for this project; an Islamic star pattern, an Islamic border pattern, an Arabesque pattern, and an Arabic calligraphy decal. This would have been an easy project if I did not have to make my own stencils, and if I did not choose such a complicated arabesque pattern. I wanted to give up many times, but I am glad I did not. I love my new lampshade!
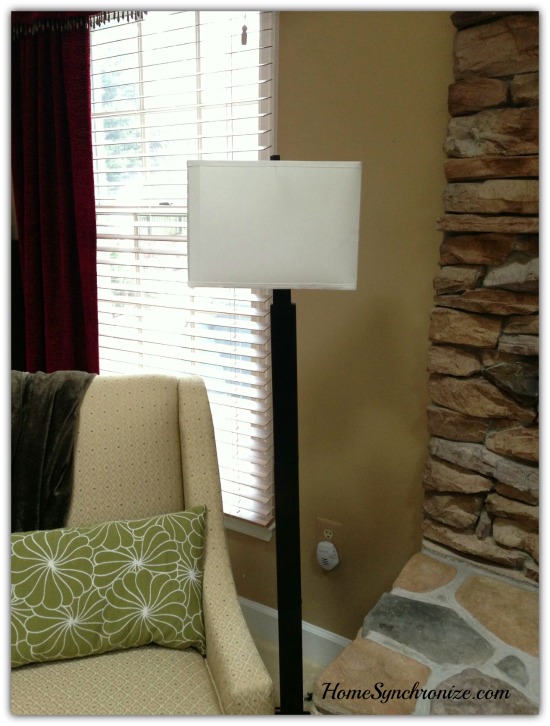
It started out as a white (boring) lampshade…
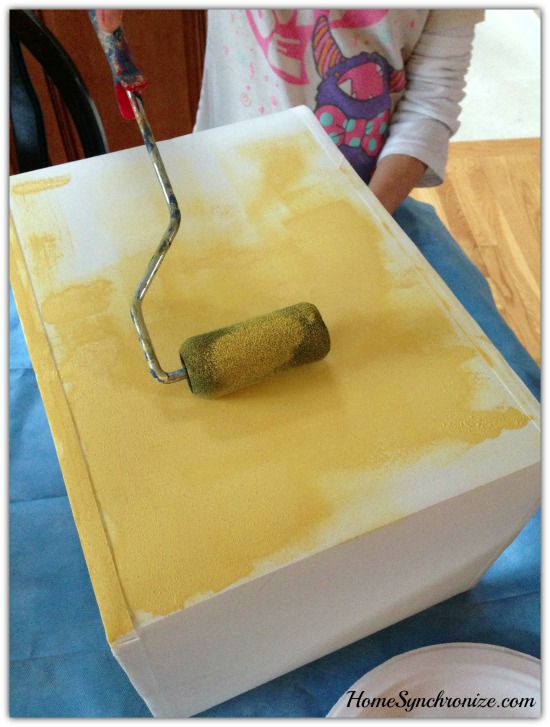
I had my daughter paint it all yellow (I used Folk art Buttercup).
 Next, I applied Folk Art paint (Burnt Amber) to the Islamic star pattern stencil. The roller in the picture did not work, so I used a foam pouncer to gently dab the paint on.
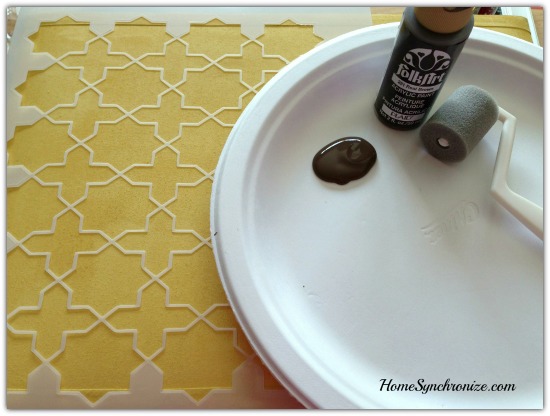
Note: I used stencil spray adhesive to hold the stencil in place while I applied the paint, but that did not work as good as I had hoped. I had to use masking tape and of course my hand to prevent the stencil from moving around while applying the paint. 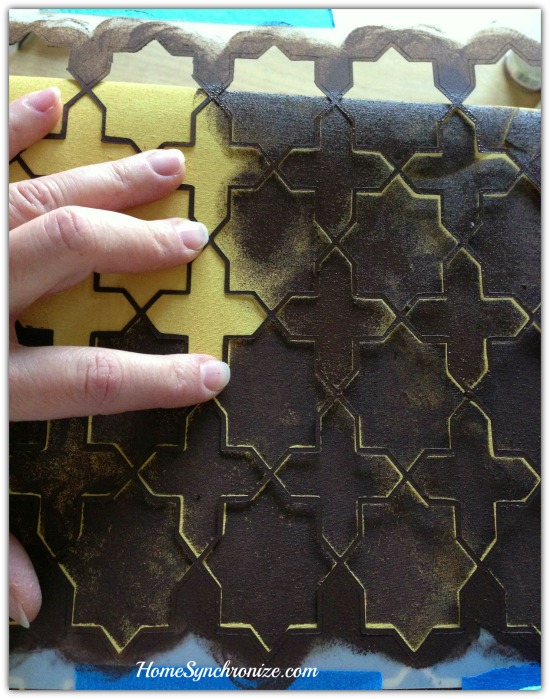 Next, I created a vinyl stencil of a border pattern. I adhered it to the shade then painted it green. Once done, I weeded out the vinyl to expose the pattern.
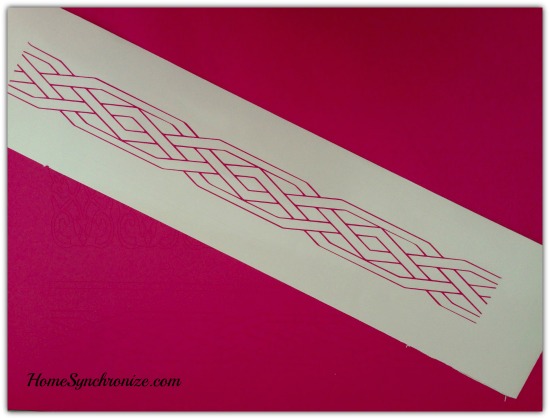
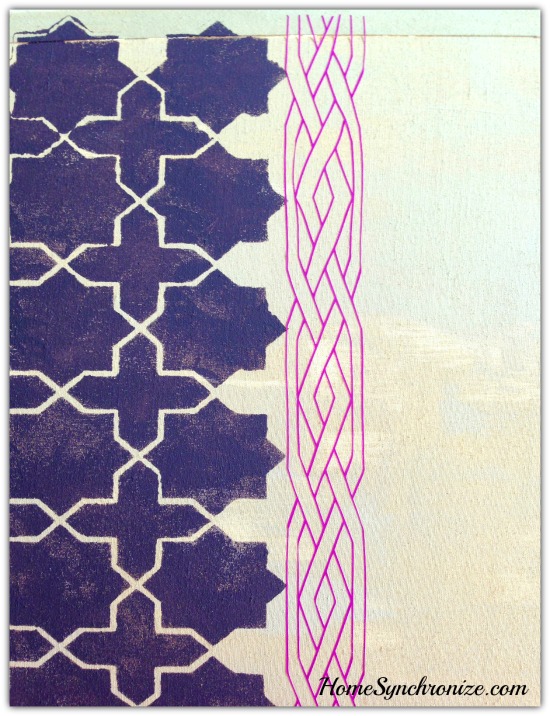
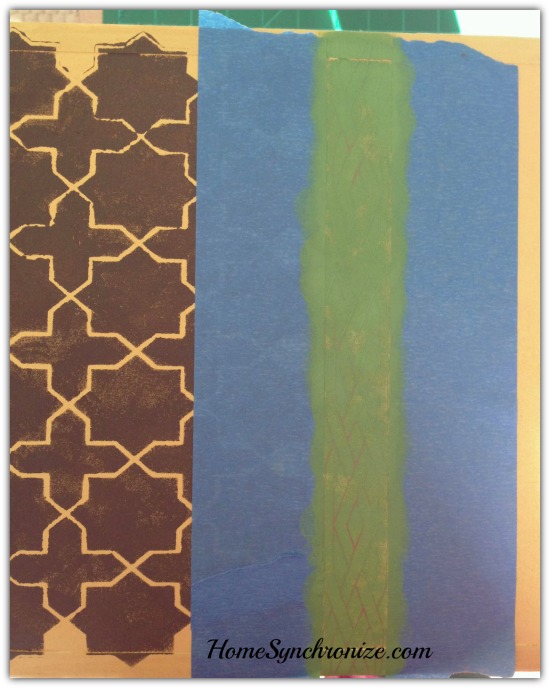
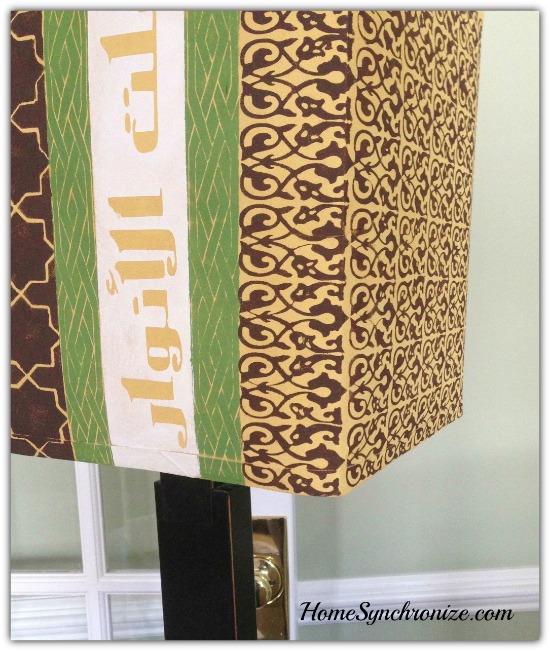
 Next, I created a decal of the Arabic calligraphy phrase “Hallat Alanwar”. In Arab culture, this phrase is often used to welcome visitors. A literal translation of this phrase is “A collection of lights are upon us” (“light” here signifying guests). Perfect for this lampshade, isn’t it?
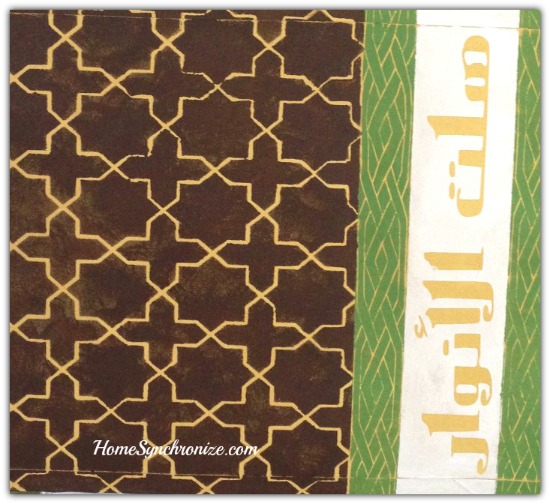
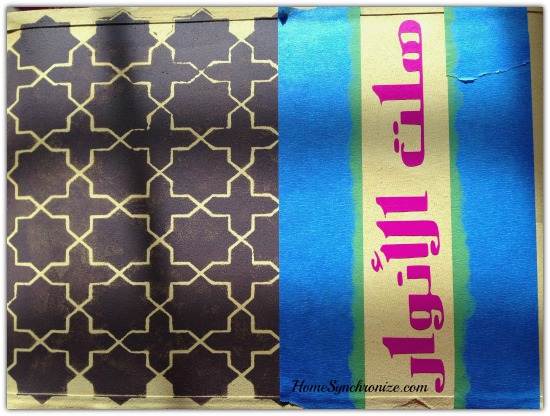 I painted over the calligraphy with white paint then weeded out the letters to expose the phrase.
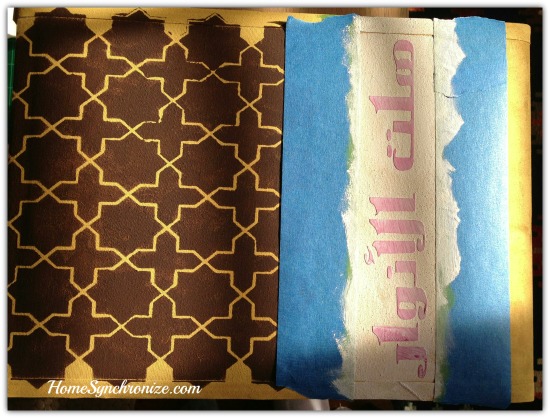
I repeated the same steps with the second border.
 The next step is with the Arabesque stencil pattern which I transferred to the side of the lampshade. I have to admit. This was the most te.di.ous.work ever! It took me over an hour just to transfer the pattern to the shade!!
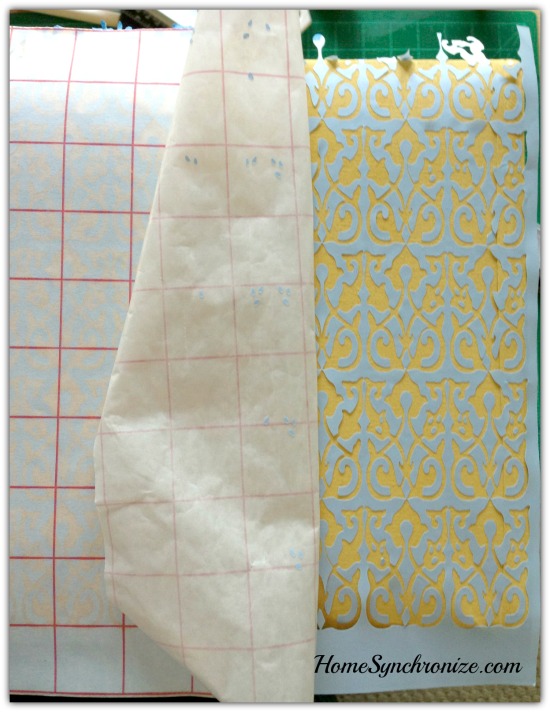
Then I used a foam brush to paint over it. 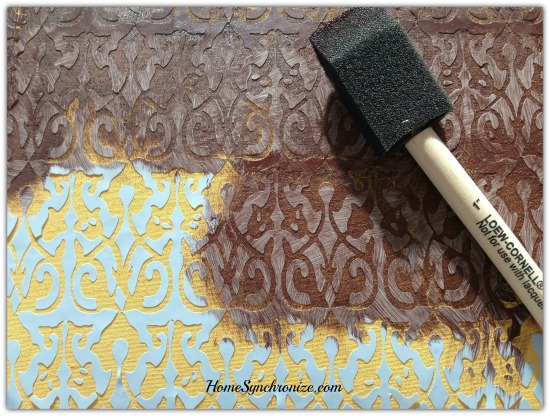
The fun part was weeding out the vinyl and exposing the pattern. So beautiful and worth the trouble! 
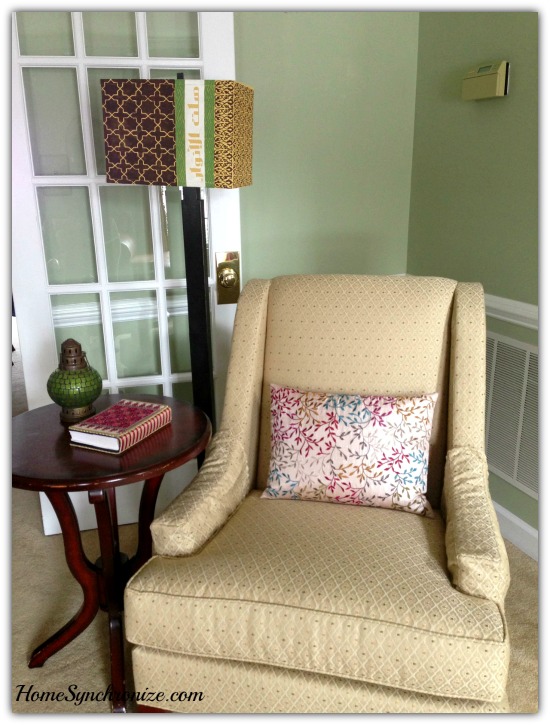
And finally, here is my new lamp shade. Tada….
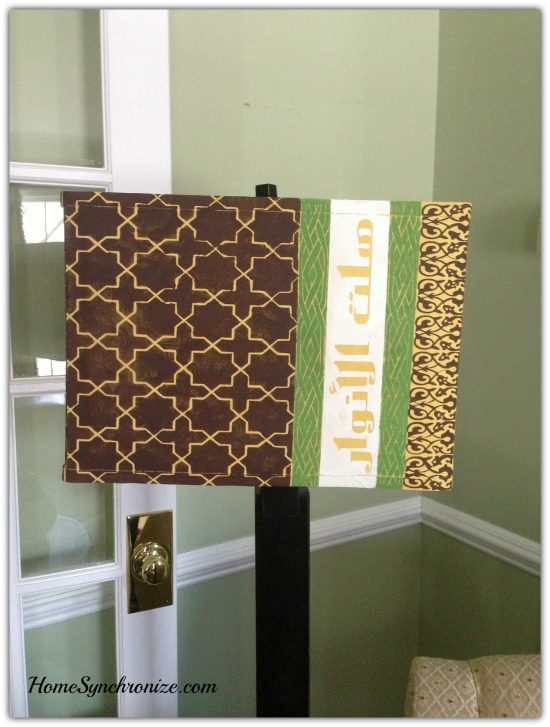
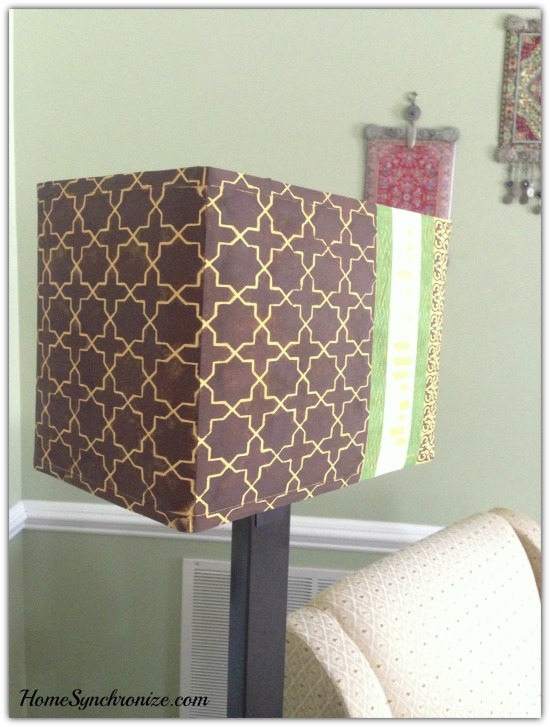
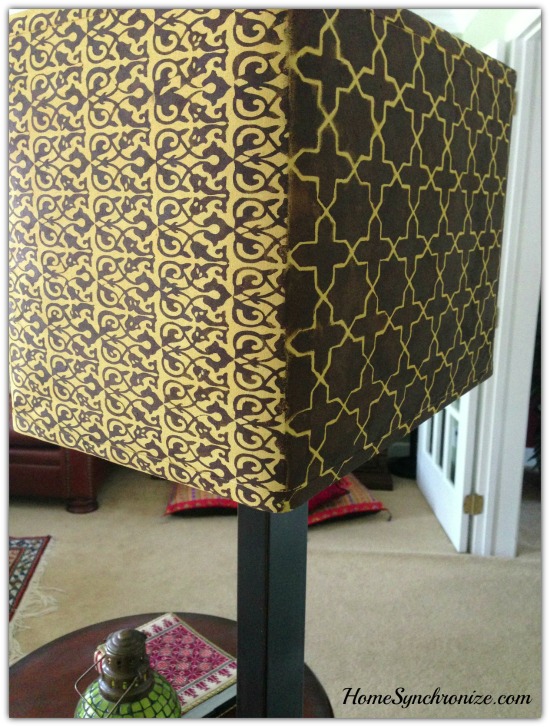
I chose to place the Arabesque pattern on ONE side of the lampshade and the Islamic star pattern on the other side as well as as the back of the shade. This is more interesting than having the Islamic star pattern all around.
Unfortunately I don’t have a picture of the light turned on because the WIRE burned as soon as I plugged it in!!! 
I am blessed that I was not electrecuted when that happened.
Anyways, while the light fixture is currently non functional, my new lampshade will serve as a decorative element that will definitely not be ignored. Don’t you agree? Please share your thoughts in the comments.