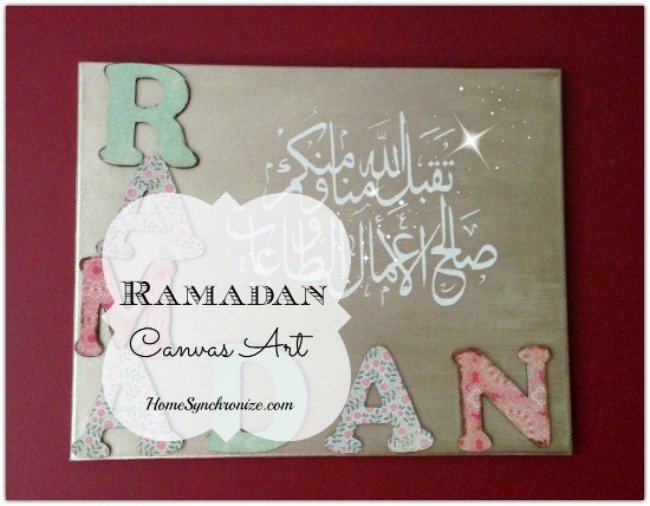
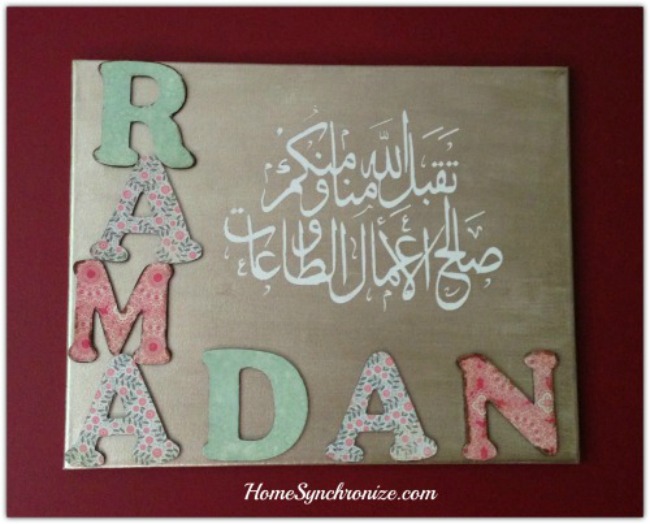
Ramadan Canvas Wall Art in 10 Easy Steps
Salam my friends! Please forgive my absence from blogging. I have been under a lot of pressure these couple of months that blogging had to take a back seat for a while. Now that everything is under control again (inshallah), I have been able to create a couple of craft projects to share with you. I will start with a Ramadan canvas wall art since Ramadan is only a week away.
This was pretty easy to make but a bit time consuming mainly because I had to create the decal from scratch (you could simply purchase it here). Personally, creating art is a relaxing activity so I do not mind the time I spent creating this. 
If you’d like to create your own unique piece of wall art for Ramadan, here are the supplies you will need:
- Stretched canvas
- Wooden letters (to spell Ramadan)
- Scrapbook paper
- Paint ( I used Deco Art elegant finish Metallic paint)
- Islamic calligraphy decal
- Mod Podge
- Sponge brushes
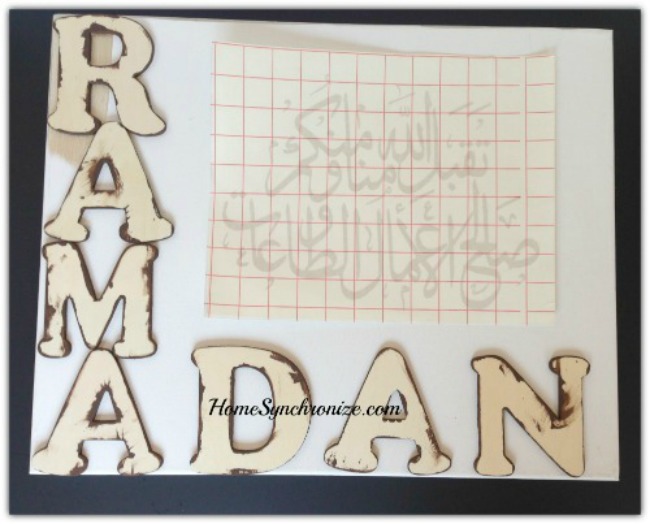
Step 1: Decide on the layout of the letters and decal
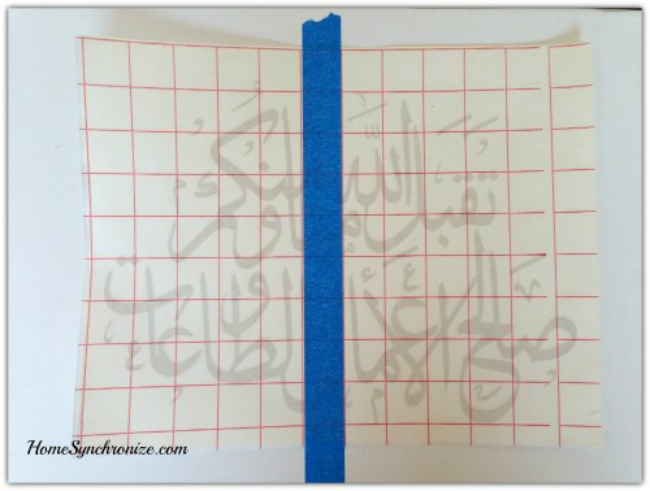
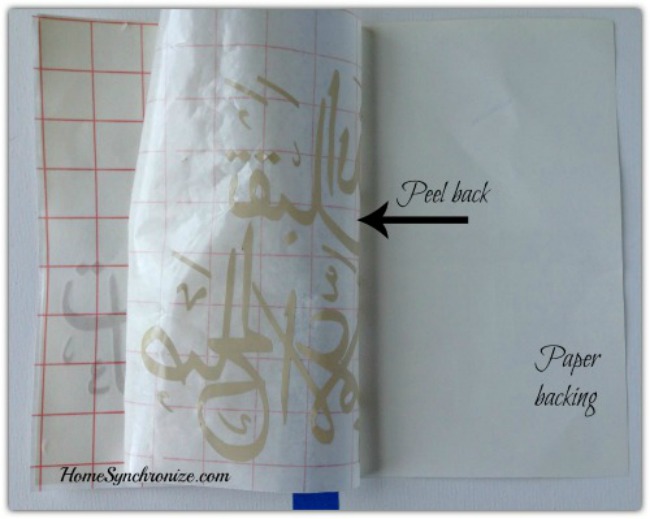
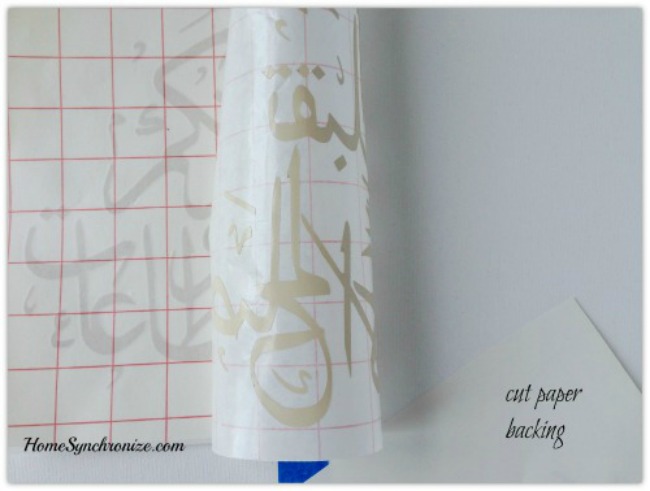
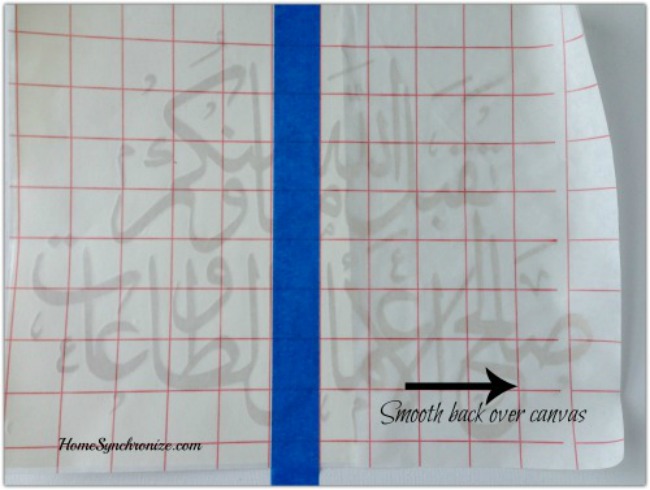
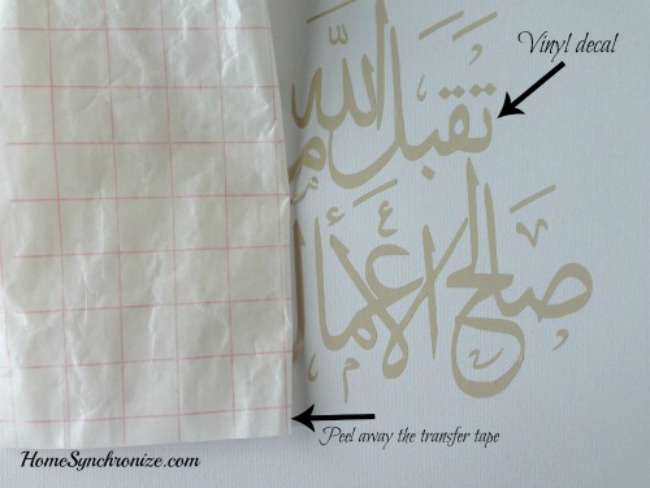
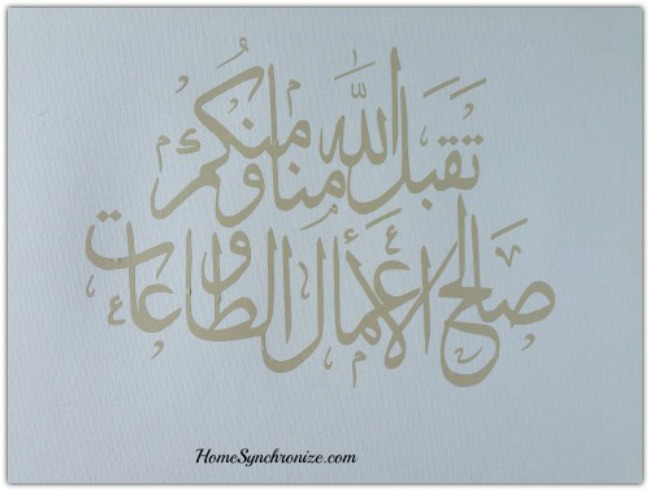
Step 2: Attach the decal to the canvas by following the application instructions
Calligraphy quote: Takabbala Allah minna wa minkom saleh alaamal watta aat
Translation: May Allah accept from us and from you our righteous deeds and obedience
{This supplication is usually used as a Eid (end of Ramadan) greeting. However, I chose to use it in my Ramadan canvas art as a reminder to take advantage of this holy month, to focus on doing righteous deeds and purifying my intentions. May Allah bless us and grant us the privilege of fasting this Ramadan}.
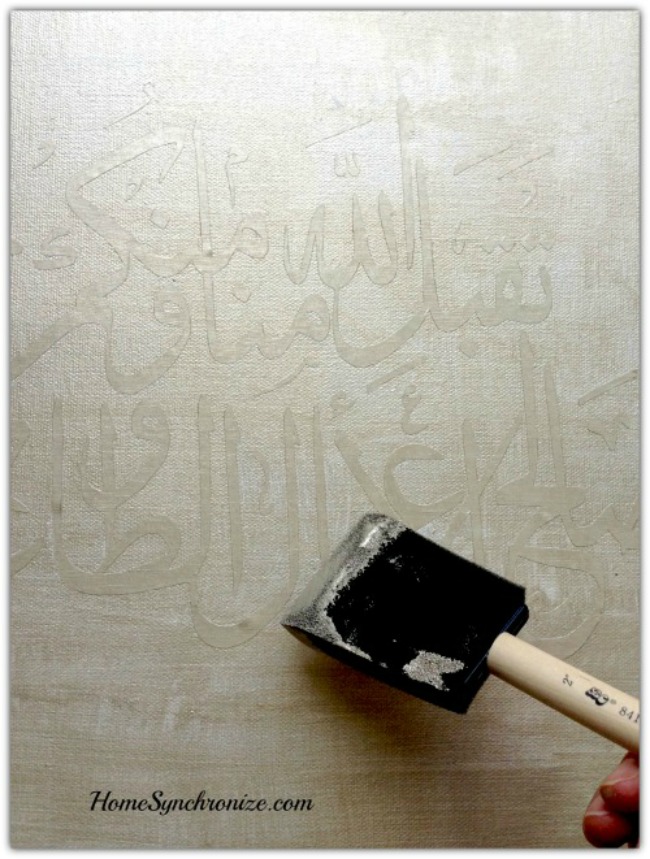
Step 3: Paint over the entire canvas
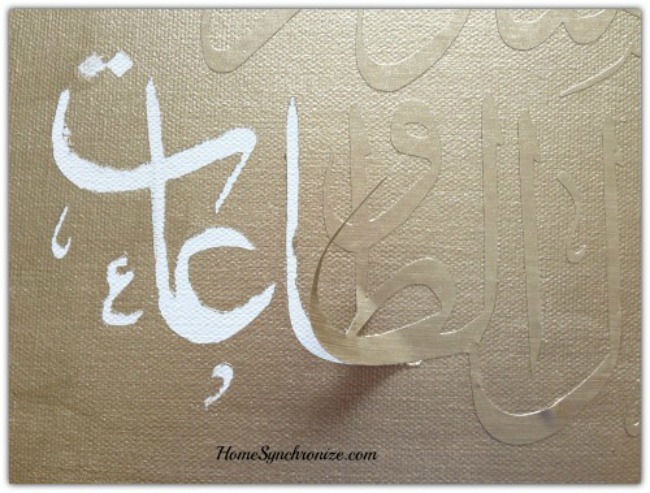
Step 4: Peel the letters off to expose the white canvas
Note: I found that waiting too long for the paint to dry makes it harder to “erase” possible paint bleeds under the decal. If you peel the letters off before the paint completely dries, then you could “erase” paint bleeds with a wet Q tip. But if you wait too long (like I did), then gently scratch the paint off with the tip of an X-acto knife. Its a bit tricky because you could ruin the canvas if you scratch too deep! So be careful
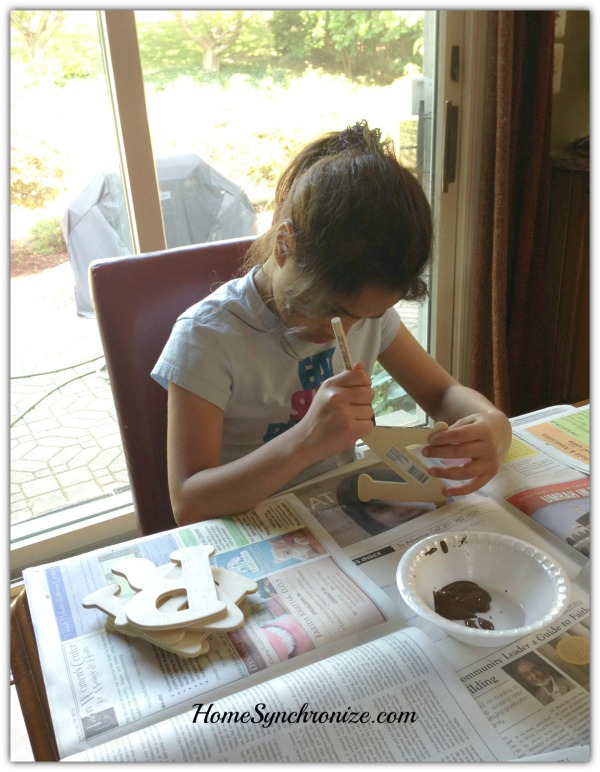
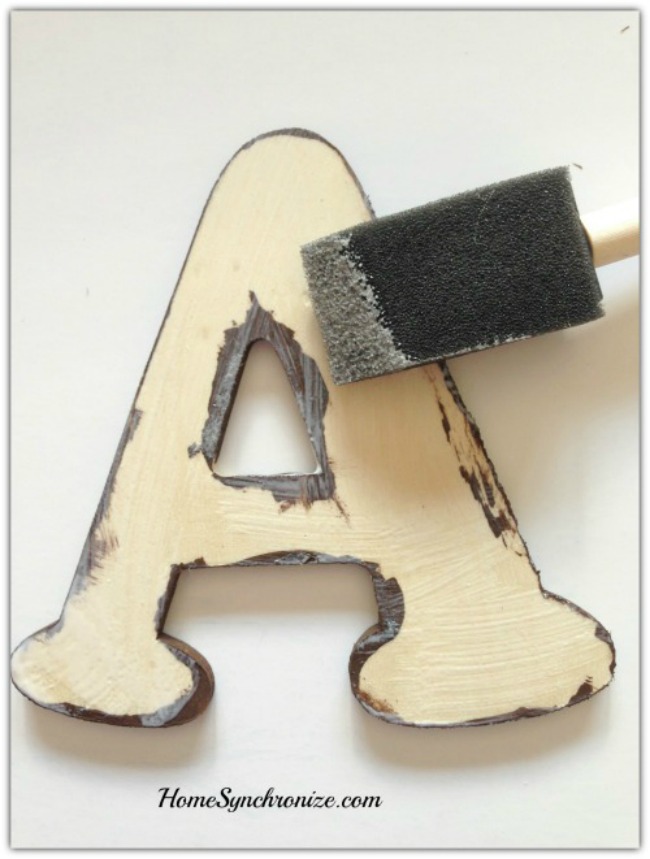
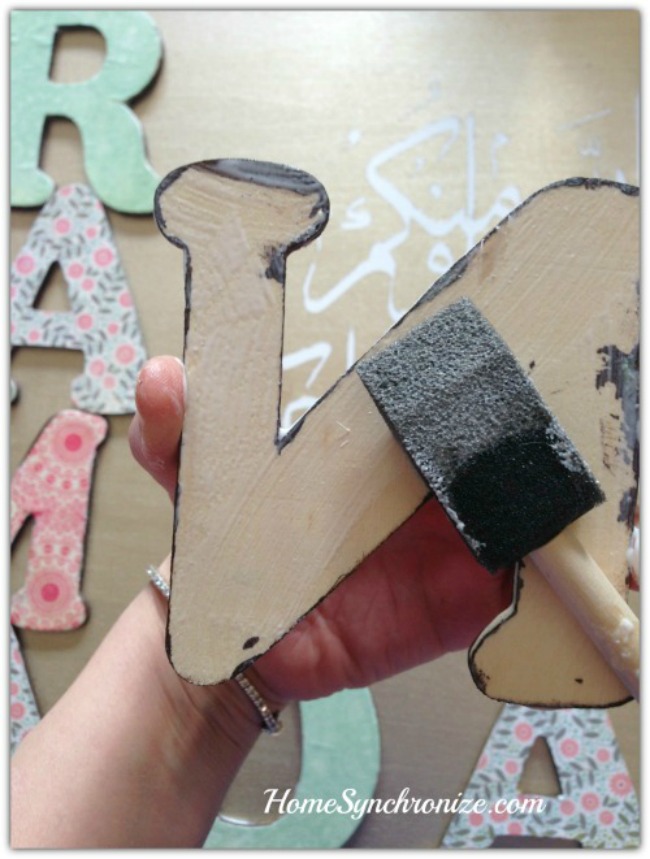
Step 5: Paint the sides of the letters a color that coordinates with the canvas color (I chose brown)
Since this does not have to be perfect, you could ask your little ones to help. 
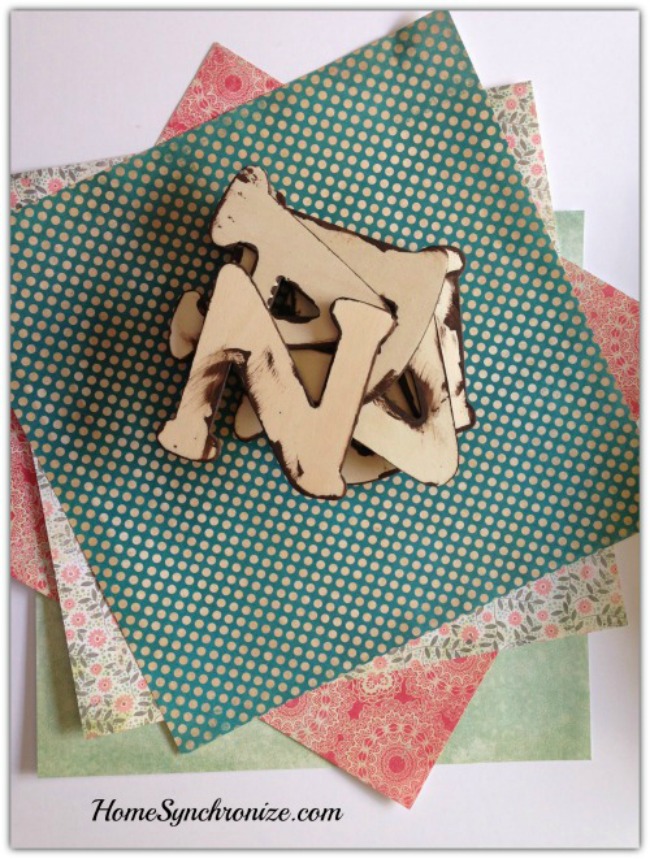
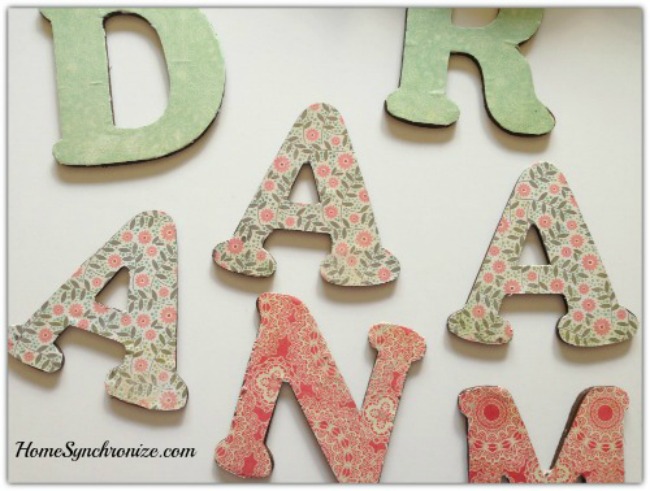
Step 6: Select scrapbook paper that coordinates together
Note: Tips for coordinating fabric patters also apply to scrapbook paper. The post I wrote about how to mix fabric patterns with confidence will be a good reference for you if you need help selecting your scrapbook paper.
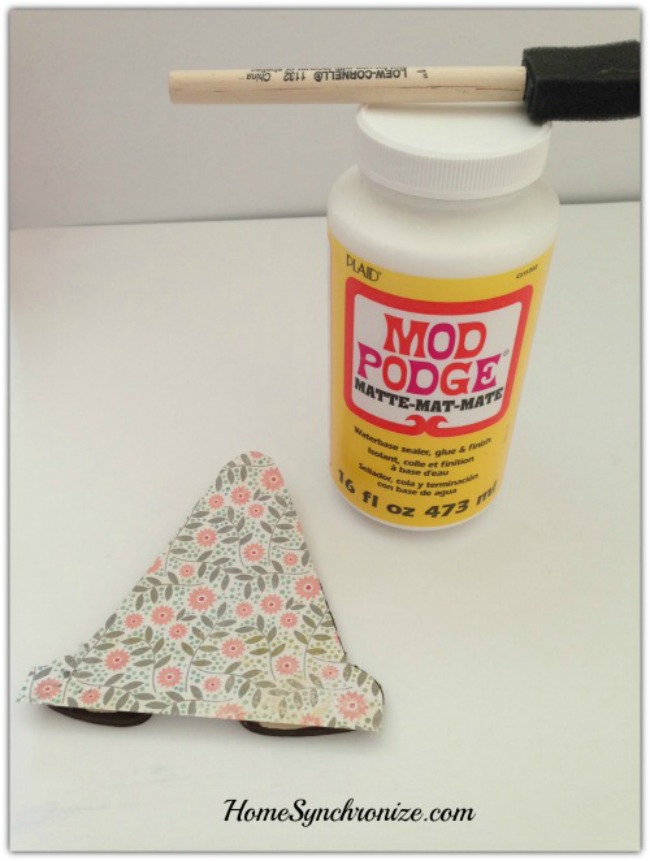
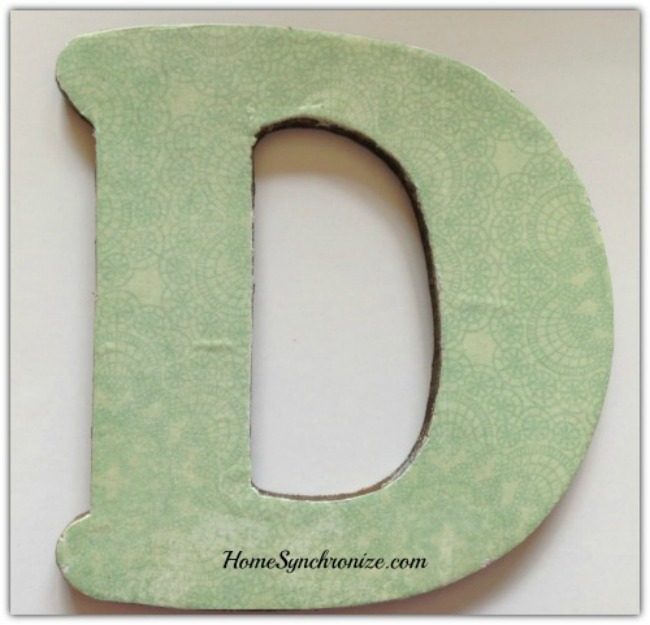
Step 7: Smooth the scrapbook paper over the letters after applying a thin layer of ModPodge (as glue). After that dries, flip the letter over and trim away the excess paper with an X-acto knife.
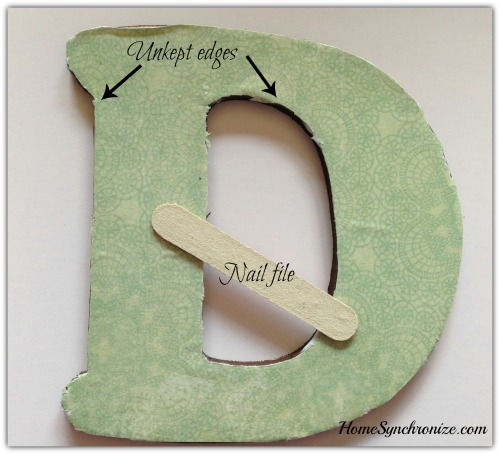
Step 8: Smooth the unkept edges with a nail file
Much better, isn’t it? Apply another thin layer of Modpodge over the paper to seal it and protect it.
Step 9: Apply a thin layer of ModPodge to the back of each letter to glue it to the canvas
Step 10: All Done! 
Looks nice, doesn’t it? Almost as nice as the wooden Ramadan letters I created last Ramadan. 
This was pretty easy (and fun) to make if you are a crafter. If you don’t have the time to create your own, and you are interested in purchasing this one please contact me.
Ramadan Mubarak everyone!

